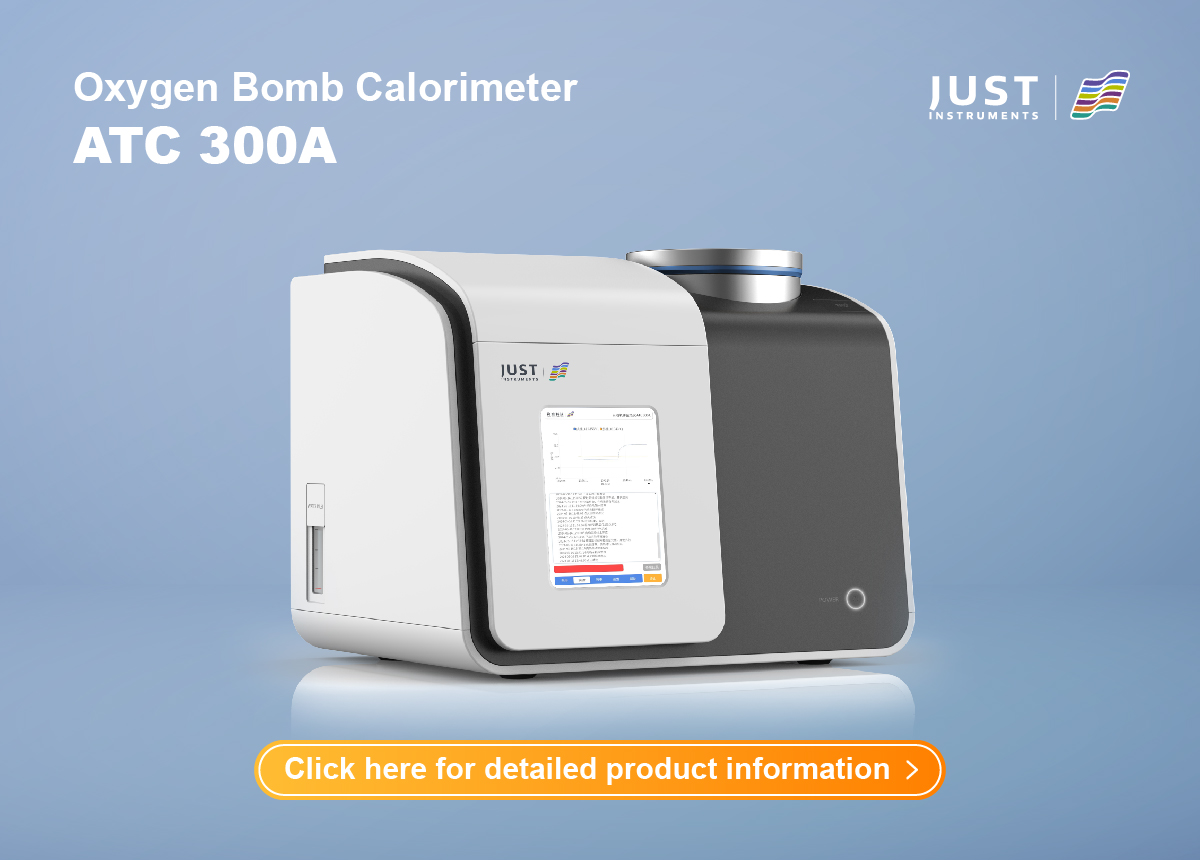
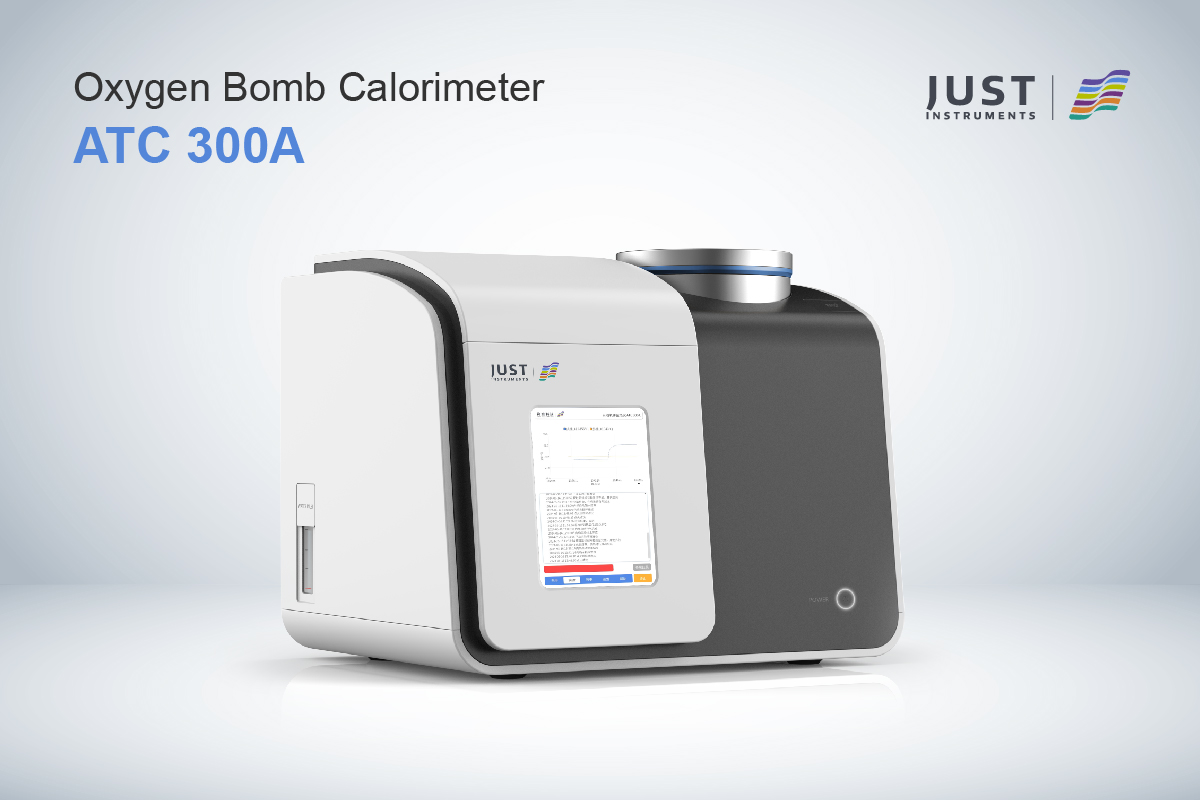
Auto Calorimeter: A Comprehensive Guide to Understanding and Using It
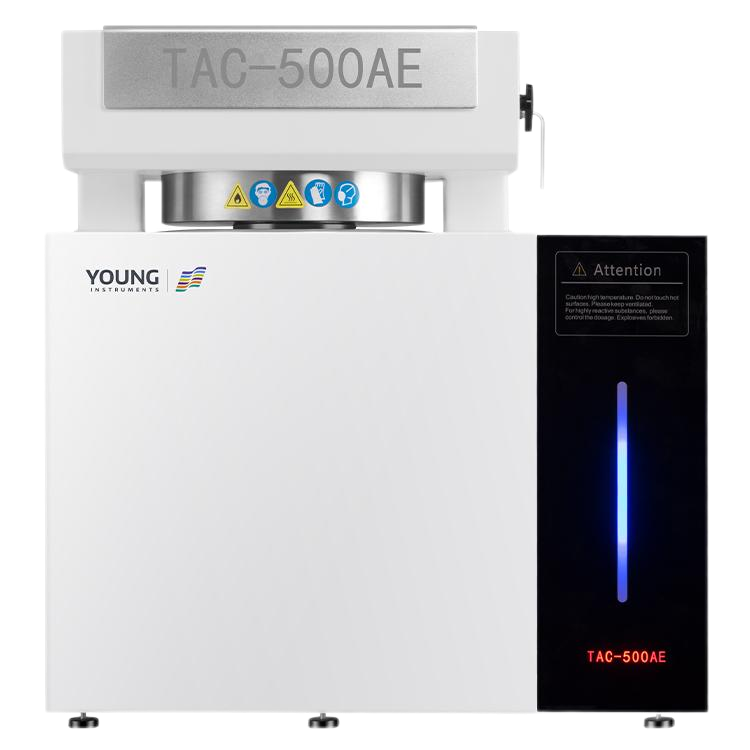
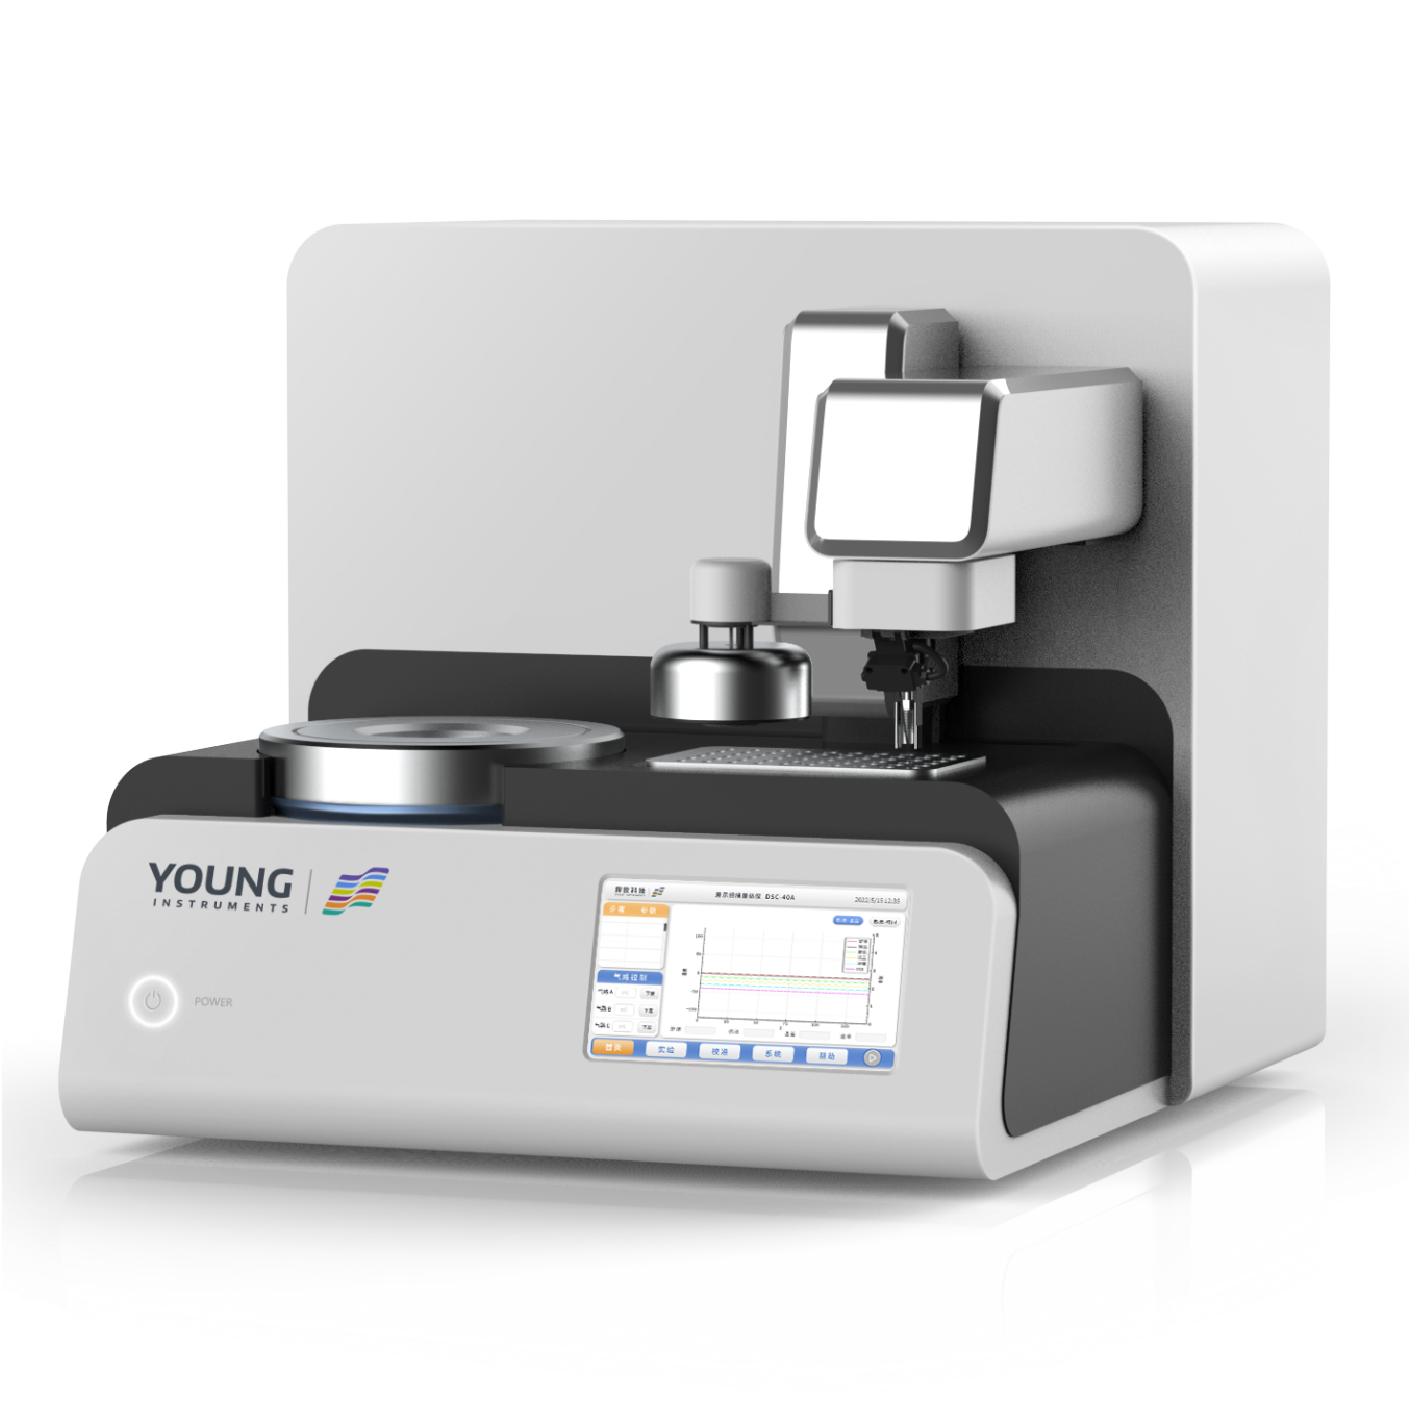
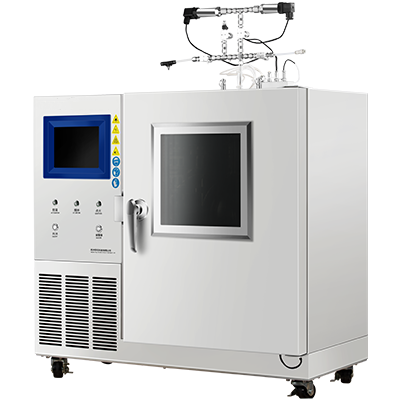
Auto calorimeters are instruments that measure the heat of combustion of a sample. They are widely used in various industries, including food, pharmaceuticals, and energy. Auto calorimeters are essential in determining the calorific value of fuels and foods, which is crucial in calculating their energy content.
Auto calorimeters work on the principle of measuring the heat released by the sample during combustion. This heat is then converted into the energy content of the sample. Auto calorimeters are highly accurate and precise, making them an essential tool in many industries. There are different types of auto calorimeters, each with its own advantages and disadvantages.
Key Takeaways
- Auto calorimeters measure the heat of combustion of a sample.
- They are widely used in various industries to determine the calorific value of fuels and foods.
- There are different types of auto calorimeters, each with its own advantages and disadvantages.
Principles of Auto Calorimetry
Auto calorimeters are used to measure the heat of chemical reactions automatically. The principles of auto calorimetry are based on the laws of thermodynamics. In this section, we will discuss the two main principles of auto calorimetry: energy measurement and calorimeter design.
Energy Measurement
The first principle of auto calorimetry is energy measurement. Energy measurement is the process of measuring the heat released or absorbed by a chemical reaction. This is done by measuring the temperature change of the reaction mixture.
Auto calorimeters use a thermistor or thermocouple to measure the temperature change. The thermistor or thermocouple is connected to a computer that records the temperature change over time. The computer then calculates the heat released or absorbed by the reaction.
Calorimeter Design
The second principle of auto calorimetry is calorimeter design. Calorimeter design is the process of designing a calorimeter that can accurately measure the heat released or absorbed by a chemical reaction.
Auto calorimeters use a bomb calorimeter design. A bomb calorimeter is a sealed container that is filled with the reactants and the calorimeter. The bomb calorimeter is then placed in a water bath. As the reaction takes place, the heat released or absorbed by the reaction is transferred to the water bath. The temperature change of the water bath is then measured to calculate the heat released or absorbed by the reaction.
The design of the bomb calorimeter is critical to the accuracy of the measurement. The calorimeter must be well insulated to prevent heat loss to the surroundings. The bomb must also be made of a material that is resistant to corrosion and can withstand high pressures and temperatures.
Auto calorimetry is a powerful tool for measuring the heat of chemical reactions automatically. The principles of auto calorimetry are based on the laws of thermodynamics and involve energy measurement and calorimeter design. By understanding these principles, you can design and use an auto calorimeter to accurately measure the heat of chemical reactions.
Operational Procedure
Auto Calorimeter is a device used to measure the heat of chemical reactions and physical changes. Here is a brief overview of the operational procedure for using an Auto Calorimeter.
Sample Preparation
Before using the Auto Calorimeter, it is important to prepare your sample accurately. The sample should be weighed and placed in a crucible or sample holder, which is then placed in the calorimeter. Ensure that the sample is completely dry and free from any impurities or moisture to ensure accurate results.
Calibration and Validation
Calibration and validation are essential to ensure that the Auto Calorimeter is working correctly and providing accurate results. The calibration process involves running a known standard sample through the calorimeter and comparing the results with the expected values. If the values are not within the acceptable range, adjustments are made to ensure accurate readings.
Validation involves running a sample through the calorimeter multiple times to ensure consistent and accurate results. The sample should be run at least three times, and the results should be within a certain range of each other. If the results are not consistent, adjustments may need to be made to the sample preparation process or the calibration of the calorimeter.
The operational procedure for using an Auto Calorimeter involves accurate sample preparation, calibration, and validation to ensure accurate results. By following these steps, you can obtain reliable and precise data for your experiments.
Applications of Auto Calorimeters
Auto calorimeters are widely used in various industries for their ability to accurately measure the heat generated by a sample. Here are some of the applications of auto calorimeters:
Material Testing
Auto calorimeters are commonly used in material testing to determine the heat of reaction, heat of fusion, and heat of combustion of various materials. For example, auto calorimeters can be used to measure the heat generated by a material during the curing process, or to determine the heat generated by a material when it comes into contact with water or other substances. This information can be used to optimize the manufacturing process and improve the quality of the final product.
Combustion Analysis
Auto calorimeters are also commonly used in combustion analysis to determine the calorific value of various fuels. This information is used to determine the energy content of the fuel, which is important for the design and operation of combustion systems. Auto calorimeters can also be used to measure the heat generated by a fuel during combustion, which can be used to optimize the combustion process and improve efficiency.
In summary, auto calorimeters are versatile instruments that are used in a wide range of applications, including material testing and combustion analysis. Their ability to accurately measure the heat generated by a sample makes them an essential tool in many industries.
Maintenance and Troubleshooting
To ensure the longevity and accuracy of your Auto Calorimeter, regular maintenance is necessary. Here are some tips to keep your instrument in good working condition:
-
Clean the calorimeter after each use to prevent contamination and damage. Use a soft cloth or brush to remove any debris or residue from the sample chamber, oxygen filling valve, and other parts. Avoid using harsh chemicals or abrasive materials that can scratch the surfaces or corrode the metal.
-
Check the fuses and wiring periodically to ensure they are intact and properly connected. Replace any damaged or burnt-out fuses immediately to prevent electrical hazards or malfunctions. Use only the recommended type and rating of fuses specified in the user manual.
-
Inspect the seals, gaskets, and O-rings regularly for signs of wear or leakage. Replace them as needed to maintain a tight seal and prevent gas leaks or pressure drops. Use only the recommended type and size of seals and O-rings specified in the user manual.
-
Calibrate the instrument regularly to ensure accurate measurements and consistent performance. Follow the calibration procedures and guidelines provided in the user manual. Use only the recommended calibration standards and procedures specified by the manufacturer.
If you encounter any problems or errors with your Auto Calorimeter, here are some troubleshooting tips to help you diagnose and resolve the issues:
-
Check the power supply and connections to ensure they are properly connected and functioning. Make sure the power switch is turned on and the indicator lights are illuminated.
-
Check the sample chamber and oxygen filling valve for any blockages or obstructions. Clean them thoroughly and ensure they are free of debris or residue.
-
Check the temperature sensors and thermocouples for any damage or malfunction. Replace them as needed to ensure accurate temperature readings.
-
Check the software and firmware for any bugs or glitches. Update or reinstall them as needed to ensure proper operation.
By following these maintenance and troubleshooting tips, you can ensure the optimal performance and longevity of your Auto Calorimeter.


